WeatherWash: How to Apply
WATCH HOW EASY WEATHERWASH PRODUCTS ARE TO APPLY!
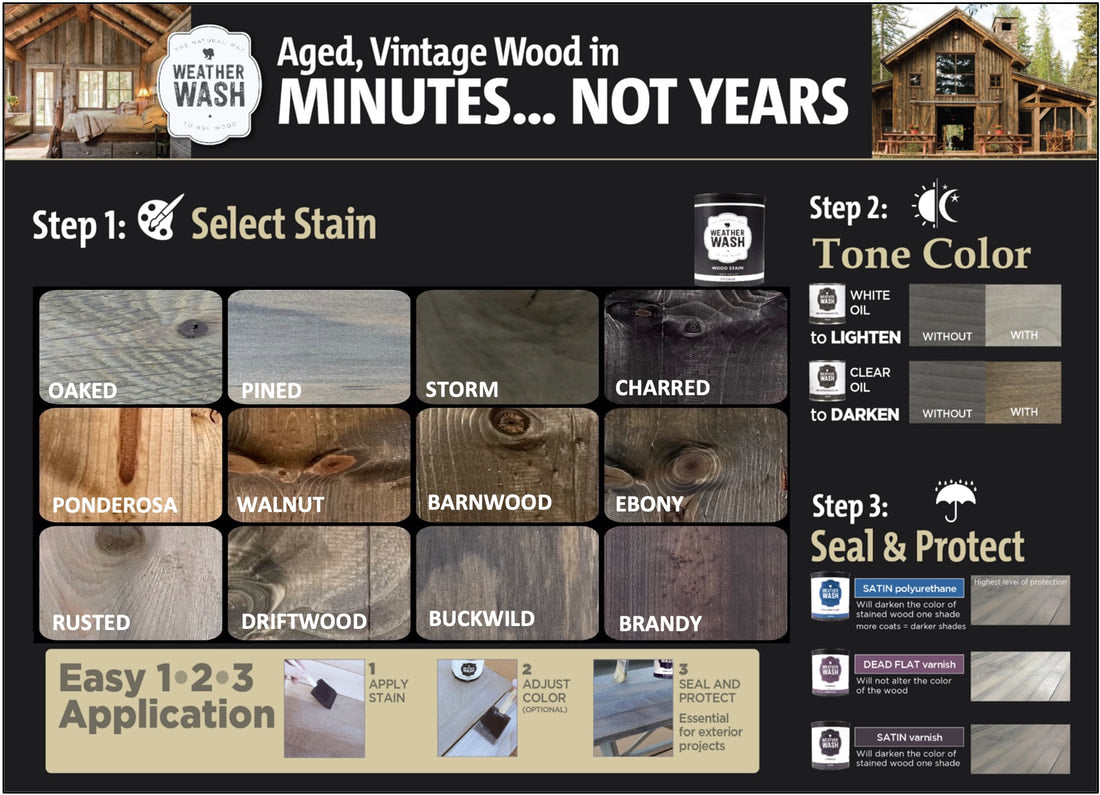
WeatherWash naturally ages wood in minutes!
Just apply aging washes to raw wood and let the weathering wash do the work!
- Easy to apply
- Quick dry time
- Easily layered for darker shades.
Learn how to apply below.
YOU WILL LOVE HOW EASY WEATHERWASH PRODUCTS ARE TO APPLY!
MATERIALS:
- Sandpaper
- Sponge Brush, Brush, or Spray Gun
- WeatherWash Aging Wood Stain
HOW TO APPLY
WOOD PREP
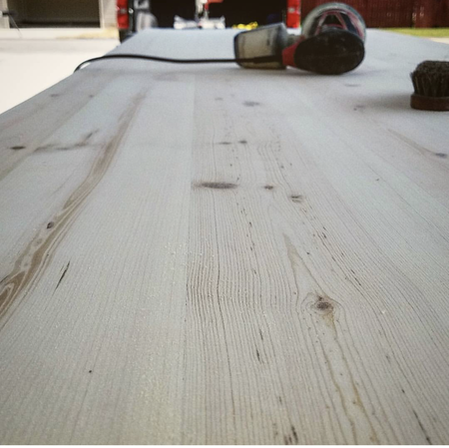
Stripped wood must be totally down to the raw. Apply to raw or stripped wood.
Wood must be sanded with 60-80 grit sandpaper to open the grain, unless it's rough cut. For smoother wood projects, you can sand with 120 grit after sanding with 60-80 grit and before staining.
Dust off your piece and you're ready to stain. You do not need to use wood moisturizers, beach, or any other wood prep besides sanding.
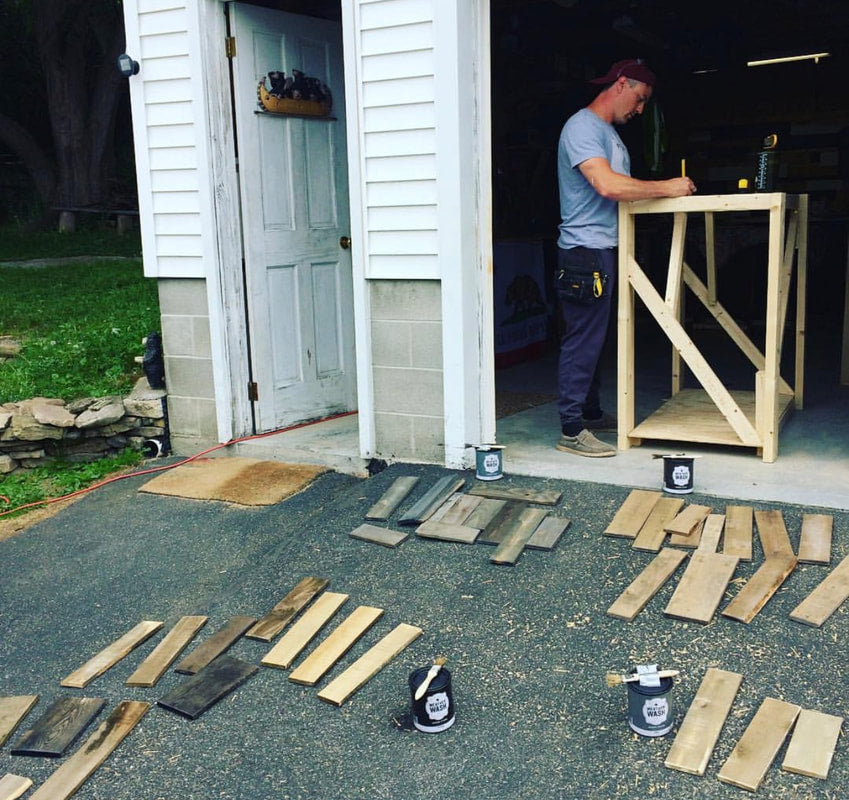
PRODUCT PREP
If you're working on a small project like furniture, cabinetry, etc. we recommend using a stiff 2" or 3" sponge brush.
For a large project like a deck, we recommend using a synthetic 3" or 4" brush.
If you're using multiple containers of stain for your job, make sure to "box" them or pour all the containers into a larger plastic container for color consistency. This is true for any stain product.
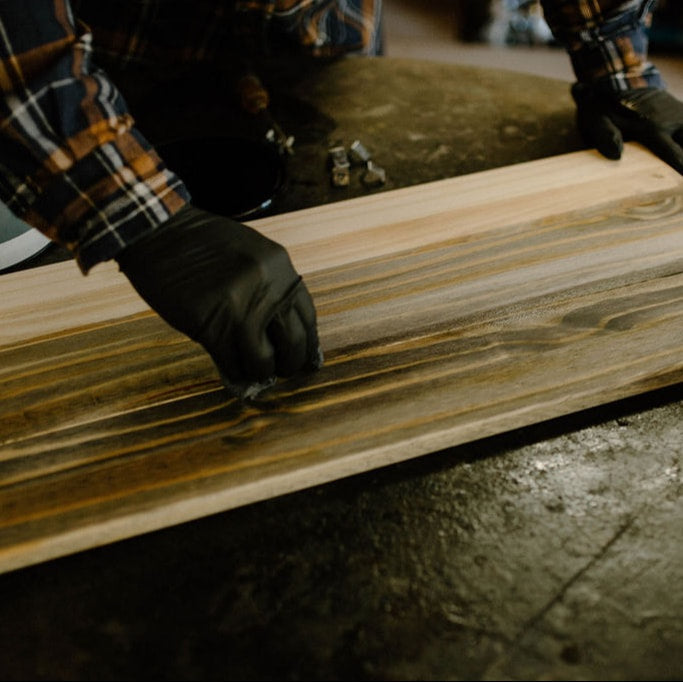
APPLICATION
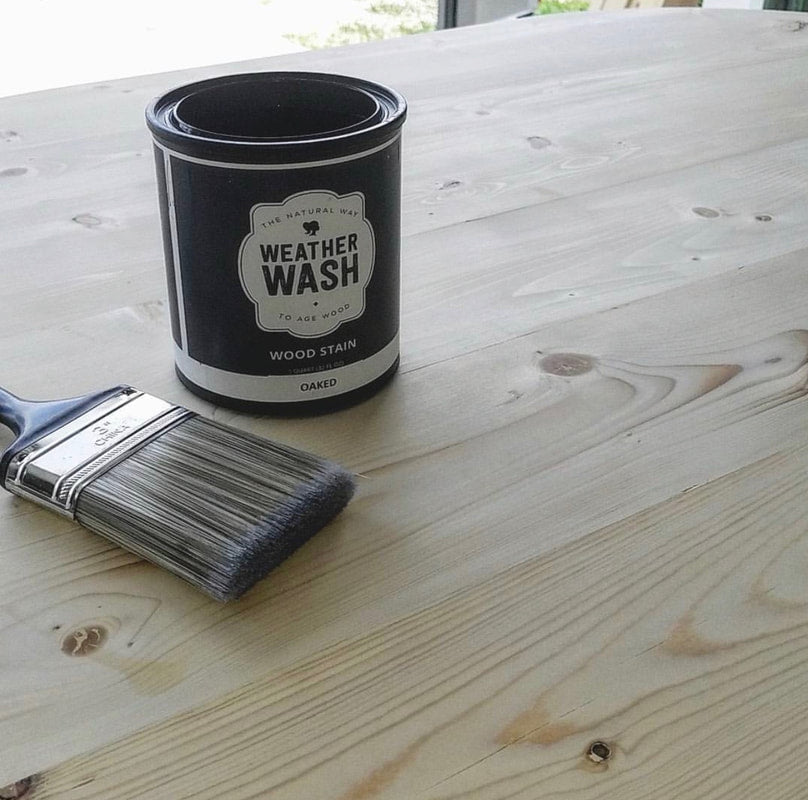
Using a brush or sprayer to apply a heavy coat of stain. Wood should be soaked in stain.
Once you apply stains you do not need to wipe them back off! Just allow them to air dry, naturally!
Wood typically absorbs stain evenly. If stain puddles or pools, use a brush to remove standing stain.
If using spray application, do not dilute aging washes. Make sure to strain products prior to filling spray gun. For more on spray application, check out this Instagram post: link.
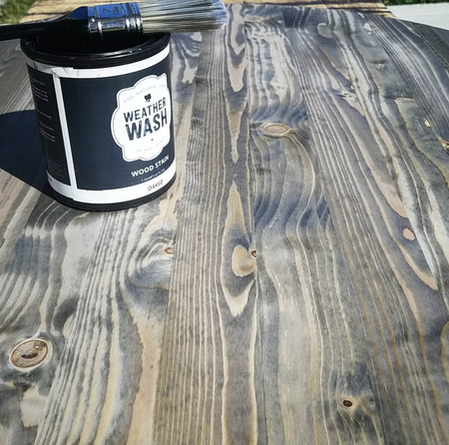
DRY TIME
Wood stain is dry to touch in 10-20 minutes.
Full dry time approximately 1-2 hours.
Allow for longer dry times in humid environments, cold weather, and soft or porous wood projects.
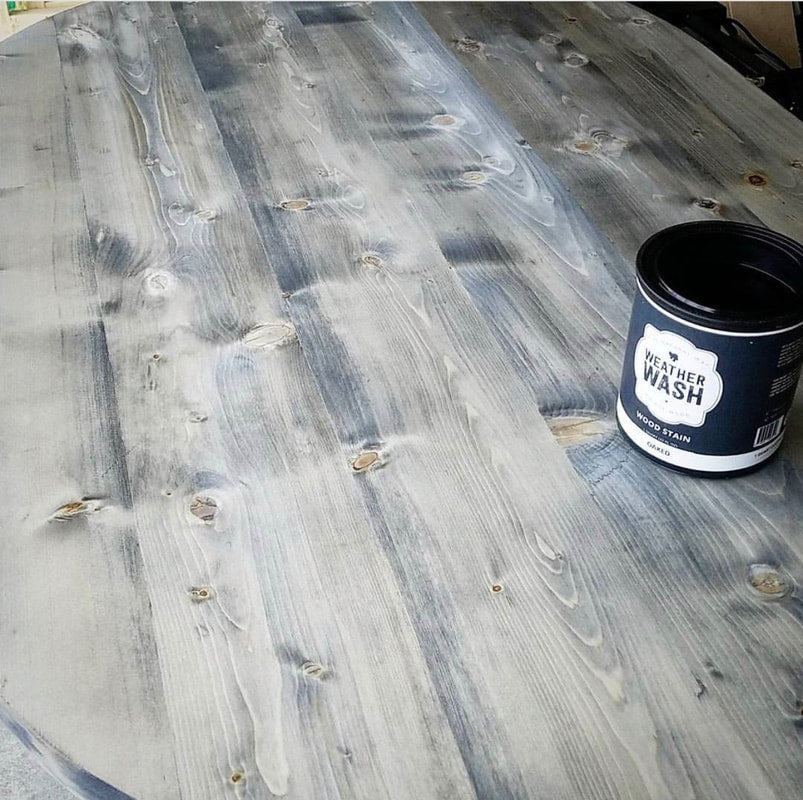
OPTIONAL STEP
Want a darker shade? Re-coat time is just one hour.
Simply brush on a second coat, to darken stains effects.
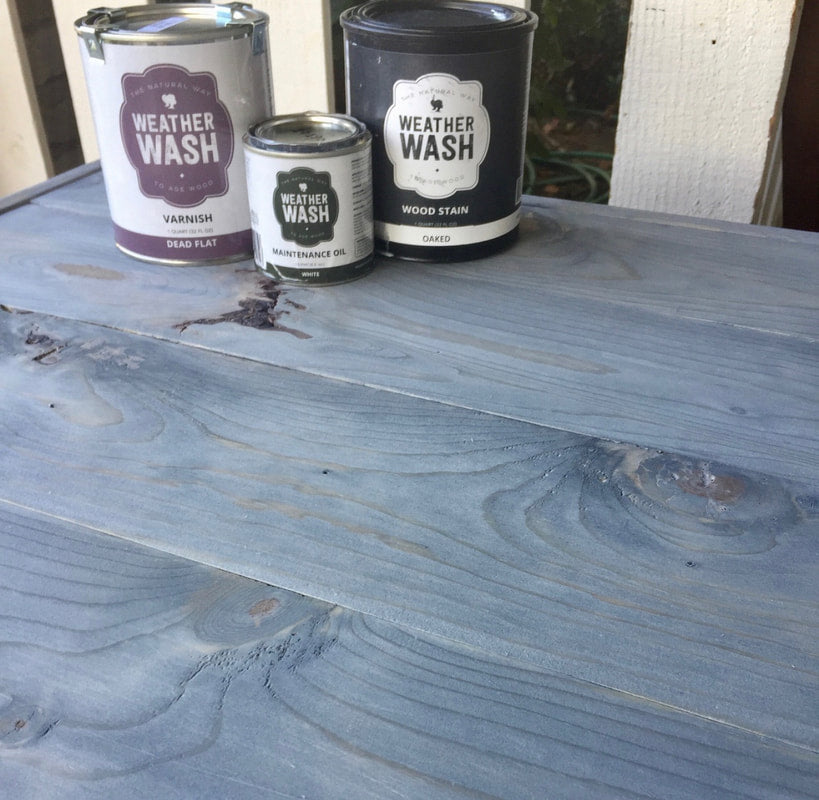
TONERS
OPTIONAL- if you'd like to adjust or tone the colors try WeatherWash low VOC, oil-based wood toners!
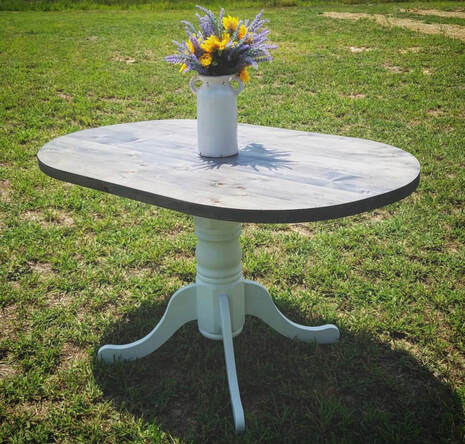
LIGHTEN: To lighten and create look of patina use WHITE OIL TONER to lighten. Also great how highlighting the grain!
DARKEN: To enhance the wood's warm tones or add brown to the color use CLEAR OIL TONER.
BLACKEN / DISTRESS: Create blackened wood effects with EBONY OIL TONER.
BROWN / AGE: Create warm rustic walnut wood effects with WALNUT OIL TONER.
PROTECT
Protect aging washes with any of the WeatherWash brand topcoats. Stained wood will maintain color consistency when using WeatherWash topcoats.
VARNISH: LINK
POLYURETHANE: LINK
EXTERIOR WOOD SEALER: LINK
MAINTENANCE & CARE
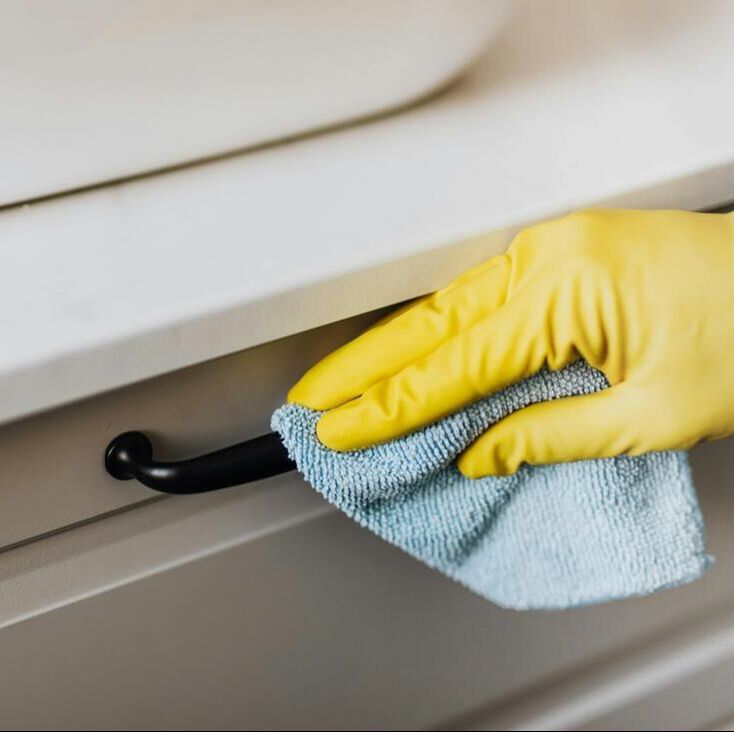
Fine furniture, cabinetry, and flooring finish care is important. After you finish has cured, the best way to clean is with a rag dampened with water. If your surface requires deeper cleaning we suggest adding a drop of dish detergent or vinegar. Be sure to use coasters, mats and trivets. Wipe spills immediately and only use a water damp microfiber cloth and mild dish soap to clean.
Always avoid using oil-soap or silicone-based daily cleaners or dusting sprays. These products contaminate the existing finish and can prevent the adhesion of future finishes.
FAQ'S
SELECTING A COLOR
How many color choices does Weatherwash have?
- WeatherWash has 13 aging wood stain colors. (Color Chart link.)
How should I select a color?
- Check out our Color Chart or feel free to reach out for custom color recommendations to: support@weatherwashcoatings.com
How should I color test the product?
- The WeatherWash quart is your sample size for wood stain and topcoats. Half pints are availlable for toners.
- Make sure to order a sample and test products the reactive products on your wood, prior to ordering for the entire job. Our stains react to the tannin in wood so color variation and working up samples should be expected as a part of the color selection process.
WORKING WITH REACTIVE STAINS
What are the best practices for reactive wood stains?
- Combining and/or layering aging wood stains is okay and looks great!
- Tannins can transfer from the wood to the stain. Maintain color purity by pouring only the product you need into plastic container before use and discard leftover stain.
- The organic manufacturing process may create discrepancies from one stain batch to another, please order for your entire job all at once. This is true for any stain product.
- Quality control allows for slight (not drastic) color drift. When buying several containers for the same job, it is best to "box" them or pour all the containers into a larger plastic container for color consistency. This is true for any stain product.
Why do I sand wood with 60-80 grit sandpaper?
- We want the wood sanded to 80 grit to really open up the wood grain.
- If you're working with rough sawn wood, you do not need to sand it, as the wood grain is already opened up.
What if I want a smoother wood finish that 80 grit?
- For smoother finish, you can first sand with 80 grit, then 120 prior to staining.
- After stain dries, you can finish sand with 320 grit.
- Then topcoat with Weatherwash brand topcoat.
How do I sand intricate millwork or veneer?
- For intricate millwork and thin veneers sanding with 80 grit may not be optimal. In these cases you can apply a coat of coat of denatured alcohol.
How can I speed up Weatherwash dry times?
- Product dry time can be sped up with a heat gun / hair dryer / direct sunlight. Note, colors may be lighter with expedited drying methods.
- More on using a hair dryer to speed dry times on this Instagram post: link!
How do I care for my project?
- Fine furniture, cabinetry, and flooring finish care is important. After you finish has cured, the best way to clean is with a rag dampened with water. If your surface requires deeper cleaning we suggest adding a drop of dish detergent or vinegar. Be sure to use coasters, mats and trivets. Wipe spills immediately and only use a water damp microfiber cloth and mild dish soap to clean.
Important: Always avoid using oil-soap or silicone-based daily cleaners or dusting sprays. These products contaminate the existing finish and can prevent the adhesion of future finishes.
WOOD SPECIFICATIONS
Can I use WeatherWash on wood that has already been stained or painted?
- Aging washes will not work on top of wood that has already been stained, painted, or topcoated.
- Wood should be stripped or sanded prior to using our stains. Then it is okay to apply WeatherWash.
- Often we find applying a two coats looks better on wood that's been stripped.
Can I use WeatherWash on refinished wood that has been stripped or sanded?
- Aging washes work on refinished wood! Once the first product has been removed- either by stripping wood or sanding it. Often we find applying a two coats looks better on wood that's been stripped.
Can I use wood moisturizers or pretreaters?
- Using wood moisturizer should not be necessary if you have sanded the wood. Moisturizers may alter the color of WeatherWash aging wood stains, so always work up a sample.
Can I use wood bleach?
- Using wood bleach will lighten WeatherWash Aging washes but can alter the final color and color tone. Always work up a sample first.
Staining vertical surfaces
- Use a sponge brush for the best color control. Apply full strokes, top to bottom and working right to left or vice versa. More on staining vertical surfaces in this Instagram post: link!
Why is the end grain darker?
- End grain means larger wood pores which can absorb more stain and react a darker shade. Sanding the end grain. with higher grit sand paper 320/400 will help "seal" the straws and allow less stain penetration.
Using wood fillers
- WeatherWash will NOT age wood fillers. Wood fillers that can be tinted to match the stained wood are a client favorite! More on wood filler in this Instagram post: link!
EXTERIOR USE
Can I use WeatherWash on pressure treated wood?
- You bet! Pressure treating wood will have little to no effect on the color!
Does WeatherWash have exterior aging wood stains?
- WeatherWash exterior stains typically need to be applied one time and should not need annual reapplication. The wood should continue to weather like barnwood or any other exposed wood with transparent stain applied to it.Topcoat exterior projects with WeatherWash Exterior Sealer, which lasts from 2-5 years.
Can I use Weatherwash "Interior" stains outside?
- Unlike WeatherWash exterior stains that should only need to be applied one time, WeatherWash interior wood stains are not guaranteed to be color-fast when used outside. Products may lighten over time and may need reapplication.
FINE TUNING THE COLOR
Why does my stain sample look lighter than I expected?
Here are some potential reasons:
- Most commonly, clients apply too little stain their first time using washes. Just try again or use a sponge brush for application to apply a heavier coat of stain.
- To fix light coloration, apply a second coat for darker effects.
- Your wood may be lower in tannin than the wood someone used in the inspiration project photo or color swatch
- The wood has NOT been sanded with 80 grit sandpaper before staining.
- The wood has been sanded above 220 grit before stain was applied.
- The wood has been previously finished, then was stripped and/or sanded.
I like the color I picked, but how can I make it darker?
- Make sure you're drenching the wood, clients commonly apply too little wood stain. We recommend using a stiff sponge brush or paint sprayer for ideal application.
- You can quickly and easily layer additional coats of wood stain to achieve darker colors.
- You can pre-sand the wood better. Start with 80 grit and work up to 120 grit.
- You can layer another color for custom shades.
- Try our Clear Maintenance Oil Toner to darken the color.
Why does my stain sample look darker than I expected?
Here are some potential reasons:
- Your wood may be higher in tannin than the wood someone used in the inspiration project photo or color swatch.
- Wood that's been very-well sanded may stain darker, because stain can better penetrate wood.
- Textured wood like rough sawn will stain darker, because stain can better penetrate wood.
- Water popped will stain darker, because stain can better penetrate wood.
How can I achieve a lighter stain color?
- Apply our White Maintenance Oil Toner. This toner lightens and cools the color.
- You can apply a lighter coat of stain.
- You can avoid pre-sanding the wood. This will keep the wood stain from penetrating all the pores and result in a lighter color.
- WeatherWash wood stains are water-based and adding water will lighten their tannin reactions.
- When experimenting with water and stain, always remove a little stain from the can, making sure to measure the amount. We start with a tablespoon of stain and water. Test your swatch and work the color in small proportions, like a teaspoon from there.
- Switch to a lighter shade of WeatherWash, feel free to reach out for custom color recommendations to: support@weatherwashcoatings.com
Want to alter reactive wood stain colors?
- You can apply additional coats to achieve darker colors.
- You can pre-sand the wood better.
- You can layer another aging wash color.
- Try our White Oil toner to lighten colors.
- Try our Clear Oil Toner to warm the color.
- Try our Walnut Oil Toner to create rustic walnut brown wood effects.
- Try our Ebony Oil Toner to create blackened wood effects.
PRODUCT REQUIREMENTS
- Close lids tightly, lid should make an audible "pop." Air exposure deactivates product.
- Do not store or apply when it's below 50 degrees. Please keep product from freezing!
- Do not store in metal or use with metal paint brushes.
- Do not cross-contaminate with other products.
- Do not work out of the canister. Tannins can transfer by brush and your stain will slowly change color or deactivate.
- If product contains lumps of larger particles: stir and mix your product according to the specifications on the label. If your wood stain or topcoat is not smooth, you can run it through a paint or coatings filter. It's a good idea to do this before using a paint sprayer.
